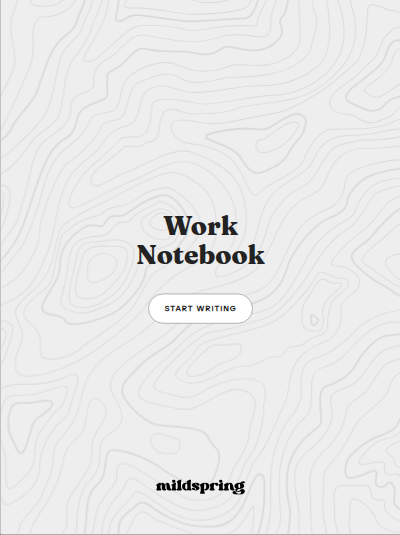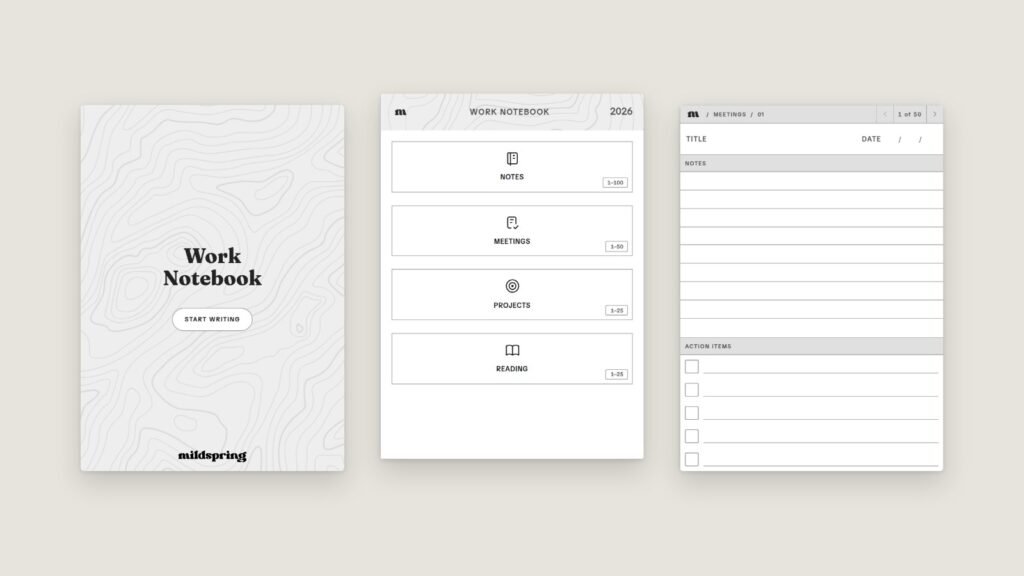
If you’ve ever bought a notebook PDF and then ignored half its sections, you already know why we built this. You can now make a custom notebook for your e-ink tablet on mildspring: pick your device, name your sections, choose a page style for each one, and we build a hyperlinked PDF sized for your screen. It costs $19 for one device.
This guide shows how to make a custom notebook in the builder one step at a time, so you know what each choice does before you pay for anything.
Why build your own instead of buying a template
Most notebook templates are built for an imaginary average person. You get a Notes section you’ll use, a Goals section you won’t, and a page style somebody else picked. On paper that’s fine, because you just skip pages. On a tablet it’s clutter, since every unused section still sits in your contents page and your file list.
A notebook you design yourself only has what you’ll actually write in. If you take meeting notes and track habits, that’s two sections, each with the right page. Nothing else. We’ve written before about why too many sections makes a digital notebook harder to use, and the builder caps you at eight for the same reason.
Start with a preset or a blank notebook
On the custom notebook page you’ll see four starter setups. Each one opens the builder with sections already filled in, and you can change anything after that.
- Work notebook: Notes, Meetings, Projects (Kanban), and Tasks.
- Study notebook: Lectures in Cornell layout, Problem Sets on a small grid, Assignments, and a Reading log.
- Journal: Daily lined pages, Gratitude, Habits, and Books.
- Project planner: Ideas, Priorities (Eisenhower matrix), Schedule (time blocker), and Notes.
If none of those are close, open the builder straight away and start from scratch. Presets save you some clicks, but they don’t change what you can build.
How to make a custom notebook, step by step
The builder has four numbered steps. While you work, a preview on the side shows your real cover, contents page, section index, and a sample page. It’s drawn by the same code that builds your PDF, so what you see is what you get.
Step 1: Pick your device
Choose the tablet you’ll use the notebook on. The list covers Supernote (Nomad, Manta, and A5X), reMarkable (2, Paper Pure, Paper Pro, and Paper Pro Move), the 2024 Kindle Scribe, Boox, Kobo, Fujitsu Quaderno, and iPad. There are also two general sizes for other 10.3 inch and 7.8 inch tablets with a 4:3 screen.
This matters more than it sounds. A PDF made for one screen size gets shrunk or padded on another, and that leaves margins and makes lines too tight to write on. Each file we build fits the screen you pick. If you own two tablets, you can add up to four more devices for $5 each, and you’ll get a separate PDF sized for each one.
Right under the device, you’ll see Toolbar side. If your tablet’s pen toolbar sits along one edge of the screen, pick that edge: left, right, top, or bottom. We keep a margin there so the toolbar doesn’t cover your page, and run the page right to the edge on the other three sides. That gives you more room to write. If you’re not sure where yours sits, leave it on All sides.
Step 2: Design the cover
Give your notebook a title and an optional subtitle. You can turn on a name sticker if you want your name on the front, which is handy if you share a tablet or keep a lot of files. Then pick a background pattern: composition book, topography, waves, circuit, or none.
Step 3: Add your collections
Collections are the sections of your notebook, and this is where most of your choices go. For each one you set four things:
- Name: whatever you’d call it out loud, like “Client calls” or “Spanish.”
- Icon: shown next to the section on the contents page, so you can spot it at a glance.
- Page style: one of 20 styles (more on those below).
- Size: anywhere from 1 to 200 entries.
You can add up to eight collections, and the whole notebook holds up to 250 pages of notes. The cover, contents page, and section indexes don’t count toward that number.
Step 4: Set the layout
The last step controls how you get around inside the notebook. You can lay out the contents page and each collection index as a list, two columns, or three columns. Lists are easier to read. Columns fit more entries on a single page, which helps when a section has 100 or more.
“Pages per entry” is the setting people miss. At 1, each line in a section index links to one page. At 3 or 5, each index line links to a group of three or five pages, which works well for long meeting notes or lecture notes that run past a single page. Those extra pages count toward the 250 total, and the builder shows the real page count next to each section as you change it.
Two checkboxes finish it off. One adds a title and date line to the top of each writing page. The other adds date and topic columns to the collection index, so you can write what’s on each page as you go. That second one only works with the list layout.
Picking page styles for each section
The 20 page styles fall into three groups:
- Notes: dotted, lined, tight lined, college ruled, small grid, regular grid, blank, and Cornell.
- Work: meeting notes (lined or dotted), checklist, Kanban (portrait or landscape), Eisenhower matrix (lined or dotted), and a time blocker.
- Life: habit tracker, gratitude journal, reading log, and book reflection.
If you’re stuck on the basic ones, our guide to blank vs lined vs dot grid vs grid covers who each style suits. A quick rule of thumb: dotted for anything mixed (writing plus sketches), lined for mostly writing, grid for math or diagrams, and Cornell for lectures you’ll study from later.
Every section can use a different style. That’s really the point of building your own. You don’t have to accept a lined Meetings section because the template designer liked lines.
What you get after checkout
We start building your PDF as soon as your payment clears. A full 250-page notebook takes about two minutes per tablet, and your order page updates by itself when the file is ready. You can download it from the order page, your order email, or My Account.
The finished file opens on your cover, which links to the contents page. Each section has its own numbered index that links straight to its pages. These are standard PDF links, so they work in any reader that follows them. If you’re not sure what that means, here’s our quick explainer on hyperlinked PDFs. The file also has bookmarks for the cover, contents, and each section, which show up as a sidebar in readers that display a PDF outline.
Getting the PDF onto your tablet
Move the file over the same way you’d move any PDF to your device:
- Supernote: USB, or Supernote Cloud sync.
- reMarkable: drag it into the desktop app or the reMarkable web app.
- Kindle Scribe: USB, or Amazon’s Send to Kindle.
- Boox, Kobo, and others: USB, or whatever cloud sync your device supports.
Once it’s on the device, open it and tap a contents entry to make sure the links jump where they should. If something’s wrong with your file, get in touch and we’ll make it right. Since these are digital files, we can’t offer refunds after download, which is why the builder’s preview shows you the real pages first.
Ready to try it? Head to the custom notebook builder, start from a preset or a blank page, and build the notebook you’d actually use. It’s $19 for your first device, and you can preview your cover, contents, and pages before you pay.